Directions to Make a Labyrinth
Few things are more rewarding than to create a labyrinth and walk it afterwards. The love and care that go into the building - and in the walking - add to the transformative benefits of the labyrinth.
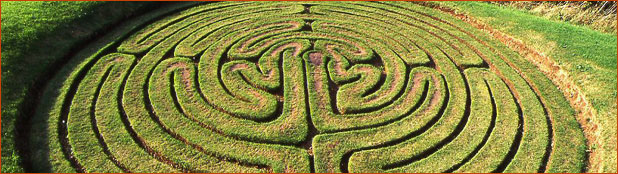
This part of the website will teach you how to make your own labyrinth. Currently, we have just directions for the Masking Tape Chartres Labyrinth. In the future, we will be adding Baltic, Classical, and Concentric labyrinth directions as well as tips for use of materials and other information to help you in your labyrinth-building efforts.
11 Tape Removal
Before you remove the tape, take a photo of your labyrinth. While you're at it, send me a copy. Be sure to provide for volunteers to help you remove the tape, which will take almost as long pull up as it took to install it. A putty knife is helpful for getting under the edges.
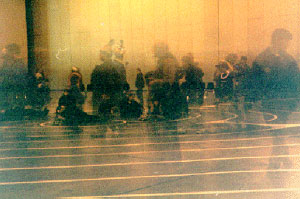
You have already seen several photos from large masking tape labyrinths that we have made for New Year's Eve. The photo below is a time exposure at a time when there were about 200 people in the labyrinth.